Patterned Rug DIY
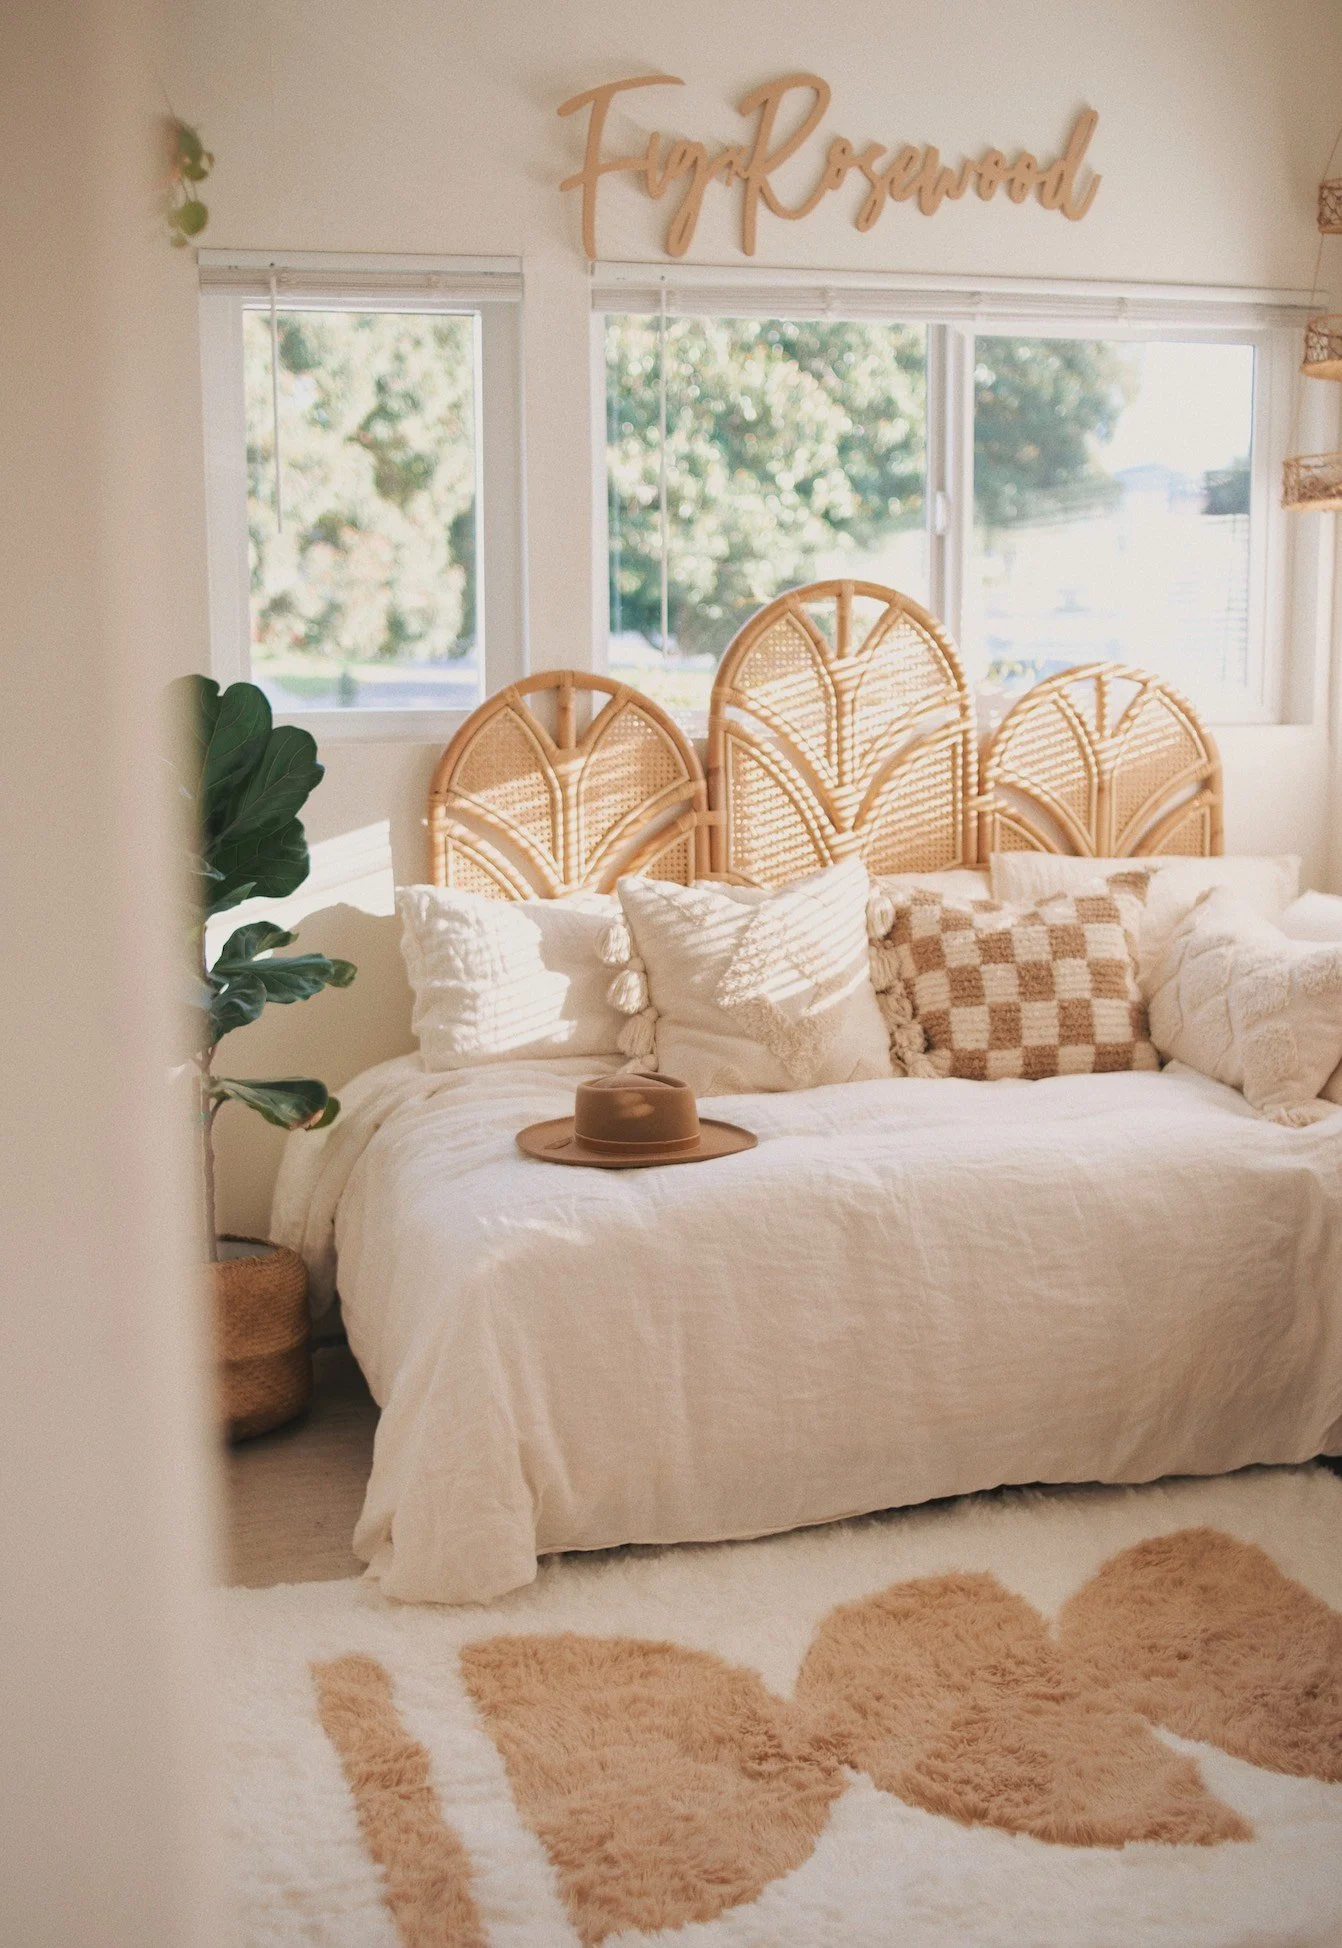
This DIY rug looked so good in our guest room!
I am so excited to share this step-by-step blog on how to make rad custom designed rugs. You can be as creative as you want, making any design. We are going to take 2 plain Jane rugs and make them into 2 rugs popping with personality! I was inspired by Geneva of Collective Gen, to take apart 2 rugs and make my own version! I hope this blog helps those of you in the US to make this DIY using the materials I have listed. I wish we had a Bunnings here, whomp whomp. BUT, I did a lot of research for the best materials for y’all to use. I went to Home Depot and Costco but came up empty handed. So of course, I found the best rugs for this project on Amazon. I have linked up the ultra fluffy and soft rugs I recommend. I bought 4 different brands, to feel the material and quality to only recommend the very best to y’all! The rugs I have linked come in a variety of colors.
Geneva made a cute checkered patterned rug. (For this version, she flipped over the rugs- used a yard stick to make a checkered pattern and then she cut out all of the little rug squares. Then she alternated the colors of the little rug squares to make her checkered print. Keep reading for the steps of how to piece it all together.)
MATERIALS:
2 different colored rugs (solid colors of your choice)
Sharpie
OPTIONAL: adhesive spray
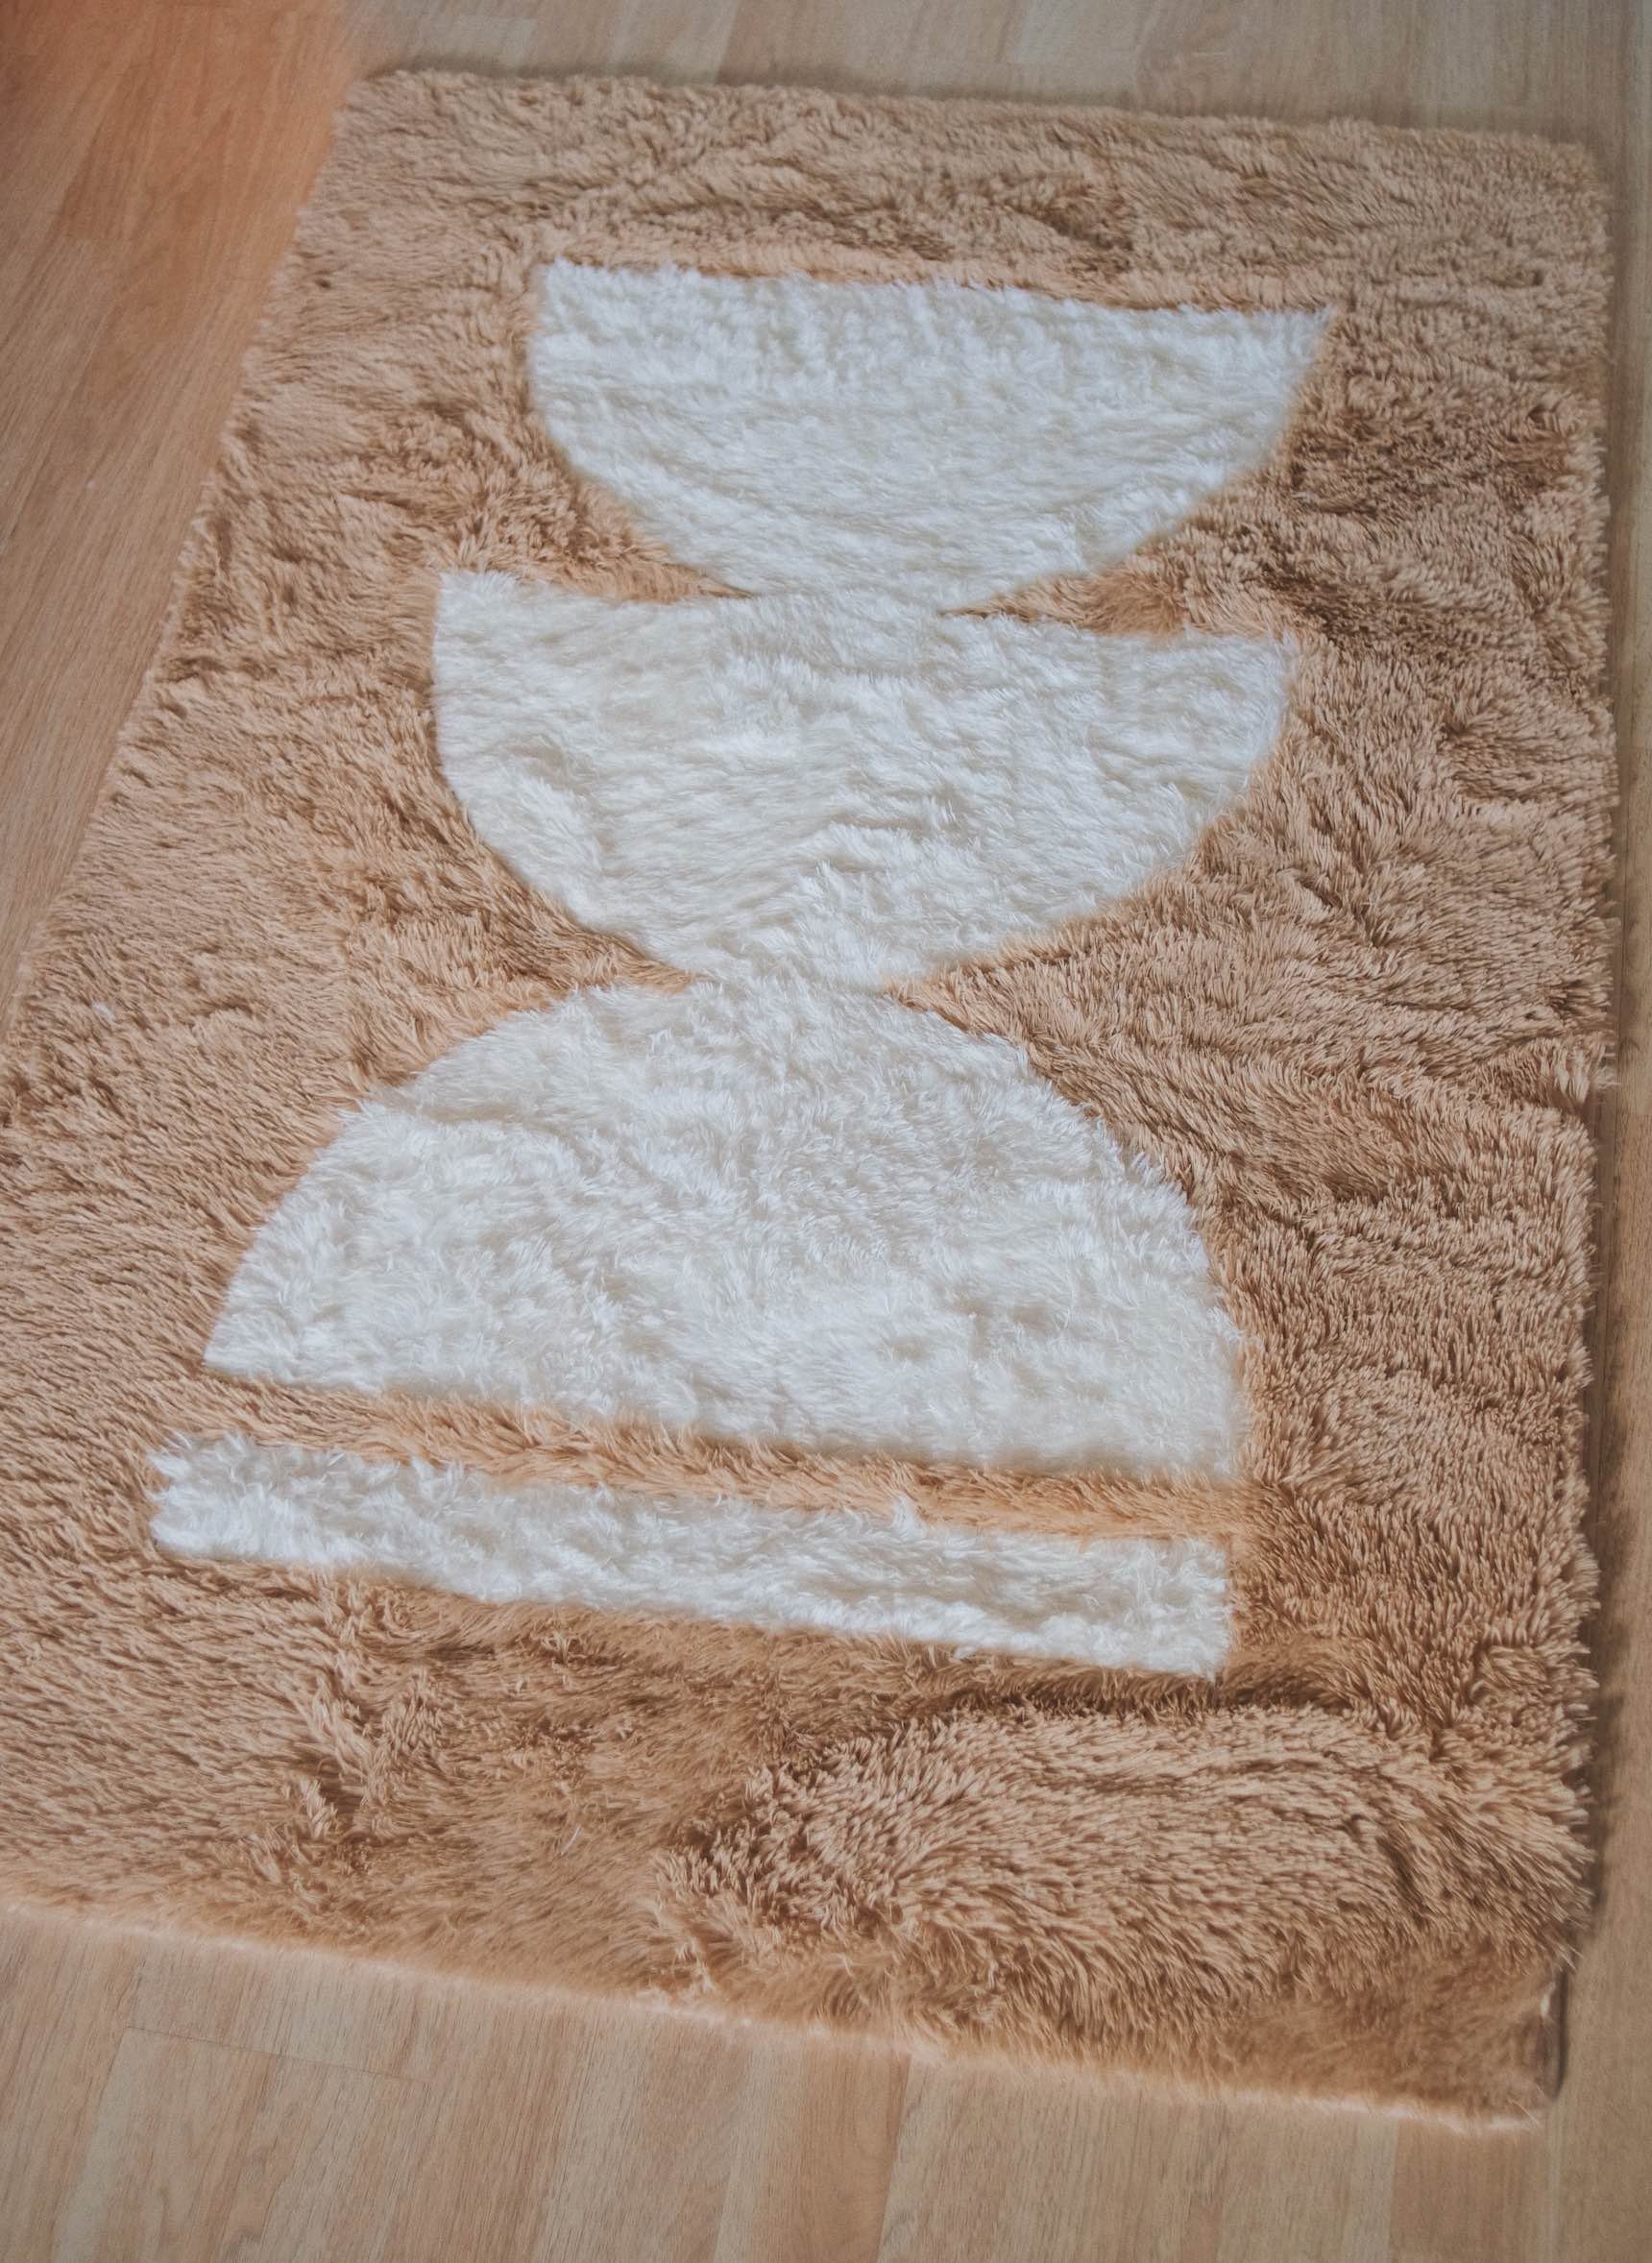
The best part is you get 2 rugs at the end!
INSTRUCTIONS:
Draft up some designs on paper. I went with a simple geometric design for mine!
Once you have brainstormed your design, draw it out on cardboard or kraft paper to create a stencil.
* Making a stencil is a pro-tip to ensure your design is the exact same size. If you eyeball it, you risk the measurements being slightly off and not fitting perfectly. Yes, it’s an extra step *ughhh but worth it I promise!
3. Flip your shag rugs over and trace the stencil on the backside of the rugs.
4. Now cut out your design, being careful to cut it smoothly all in one continuous shape. (This is where I recommend the Fiskar scissors because they glide across the rug like butter.) Do this on both rugs.
5. Now simply swap out the shapes from the two rugs. The pieces will swap out like perfect puzzle pieces.
6. The carpet tape is so easy to use. Cut sections of tape and place along the lines of your shapes. DO NOT LEAVE ANY GAPS. Get the tape as tightly attached to the frame rug, and the new inner piece.
7. BOOM BABY!!!!!!!!!!!! YOU’VE GOT YOURSELF 2 NEW RUGS!!! I cannot wait to see the rugs you create. I love connecting with other crafty friends, so be sure to tag me on Instagram or DM or E-mail me a photo so I can see and celebrate with ya!
THE MILLION DOLLAR QUESTION: HOW IS IT HOLDING UP?!
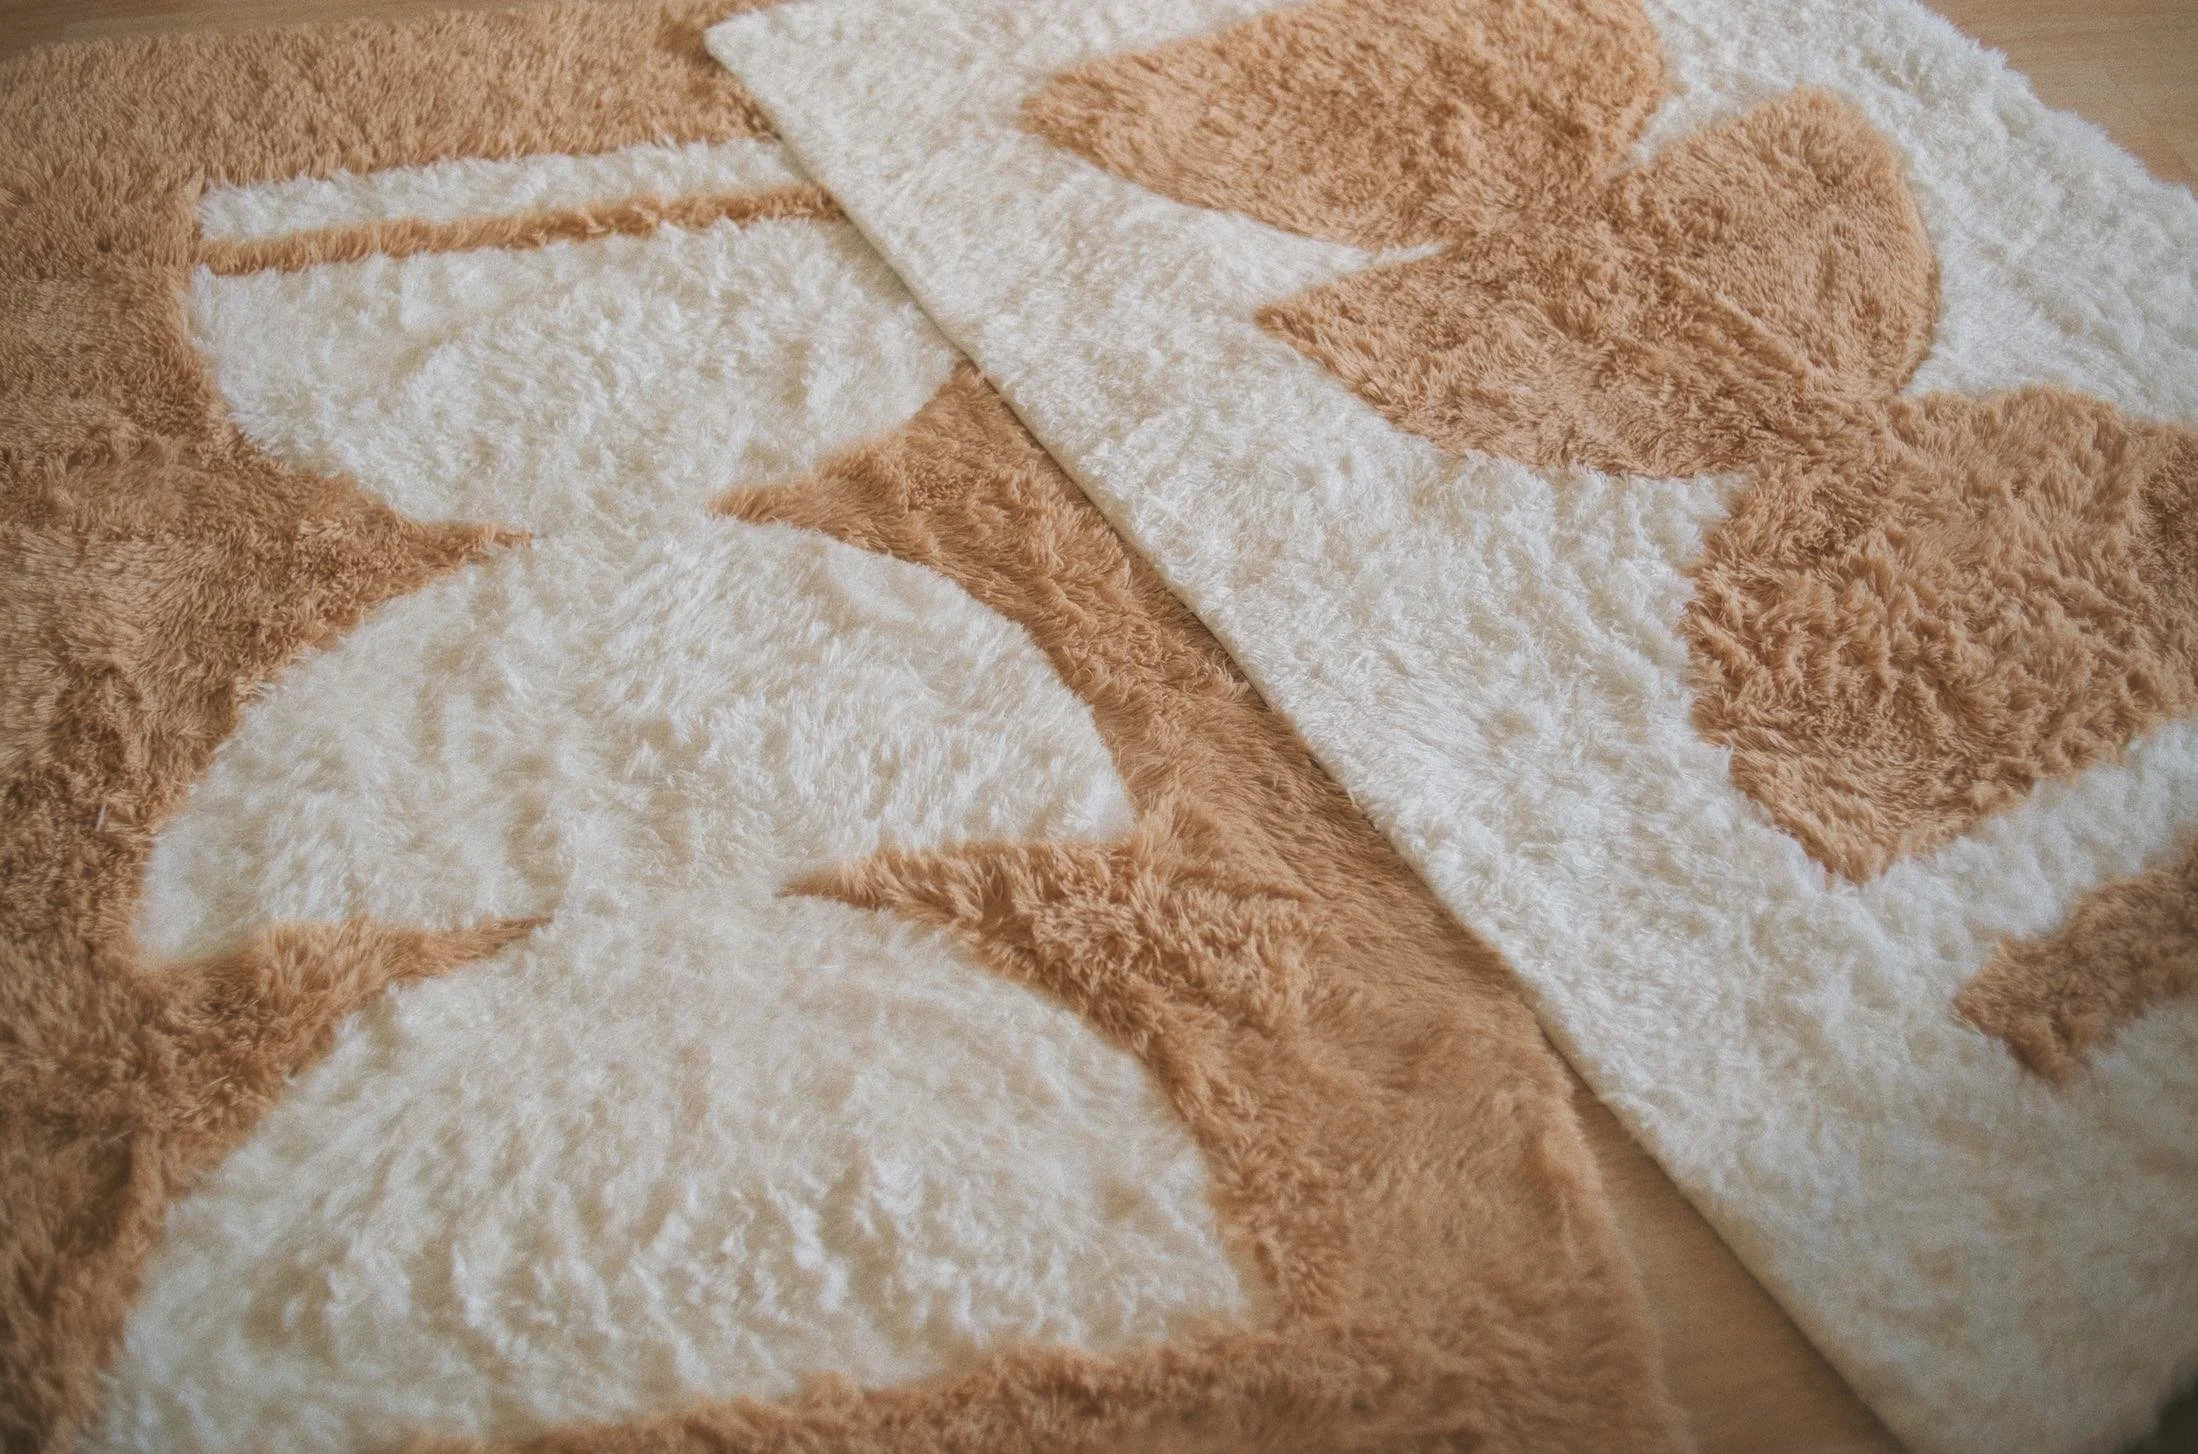
Which DIY rug do you like better?
The twins are amazing, thank you very much! Love my lil rug babies. But in all seriousness, the rugs have held up fantastic. The Carpet Seaming tape works great. My most asked question from my followers on this project was, how do they do when being vacuumed? I’m happy to say I vacuum the rugs often and the cuts stay in place. I would recommend finding a spot for your rugs and keeping them stationary. My one rug I couldn’t decide what room to put it in, so I folded it up. BAD IDEA. Folding it caused some of the tape to eventually detach. The rug is still in good condition, but not great because I had to relay some new tape. So just don’t fold these rugs in storage. Keep them out on display!! If you have to have them in storage, ROLL them.
*If you are really concerned about the rugs sticking together, you can always use a spray adhesive on the back, over top the tape. But this is #extra. The tape works really well on its own, but then again I don’t have kids or pets clawing at my rugs pulling the pieces apart.